Steps for Replacing a Laptop Screen Display
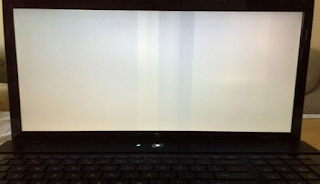
When using a laptop, you may encounter a situation when the display screen is broken. Many users may not want to take it to a repair shop for repair and want to replace it themselves, but they do not know how to replace the display screen in the laptop. In fact, the operation method is not difficult. Next, I will explain the steps for replacing the laptop screen display to everyone. If you have similar needs, let me take a look together.
The specific steps are as follows:
1. There are usually several protruding dots around the laptop screen. That dot can be pulled out, and after pulling it out, you can see the screws inside.
2. Remove the screws one by one.
3. Then use the prying tool to slowly pry out the "black border" of the screen. I can't guarantee that every laptop is tampering with the front part, which requires you to carefully analyze.
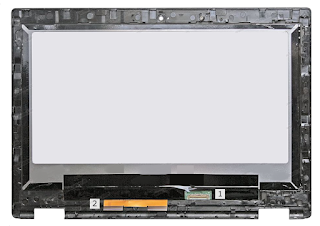
4. After separating this border, not only can the screen display be replaced, but also the camera of the laptop can be easily replaced.
5. I have successfully separated the border.
6. Next, remove several screws from the display bracket.
7. Finally, unplug the ribbon cable and separate the display screen. When unplugging the cable, it is important to carefully analyze how to unplug it, as the cable is very fragile. It can easily be broken. If it is, you will need to trouble yourself by removing the laptop's main unit and replacing the cable.
8. Perfect separation, don't tell me if you can disassemble or assemble! Buy a display screen and implement Reverse engineering.
The above explanation is the steps for replacing a laptop screen display. Users who need it can take the above methods and steps to replace it. We hope it can help everyone.


评论
发表评论